

Stamping centers can be used for so many skills and they are fantastic as permanent centers. Permanent centers are less work for the teacher because you use the same materials and just switch out content. But even better, they grow with the students which makes things easier for them because they are familiar with the expectations and routines.
Quick Links
Stamping Center Supplies
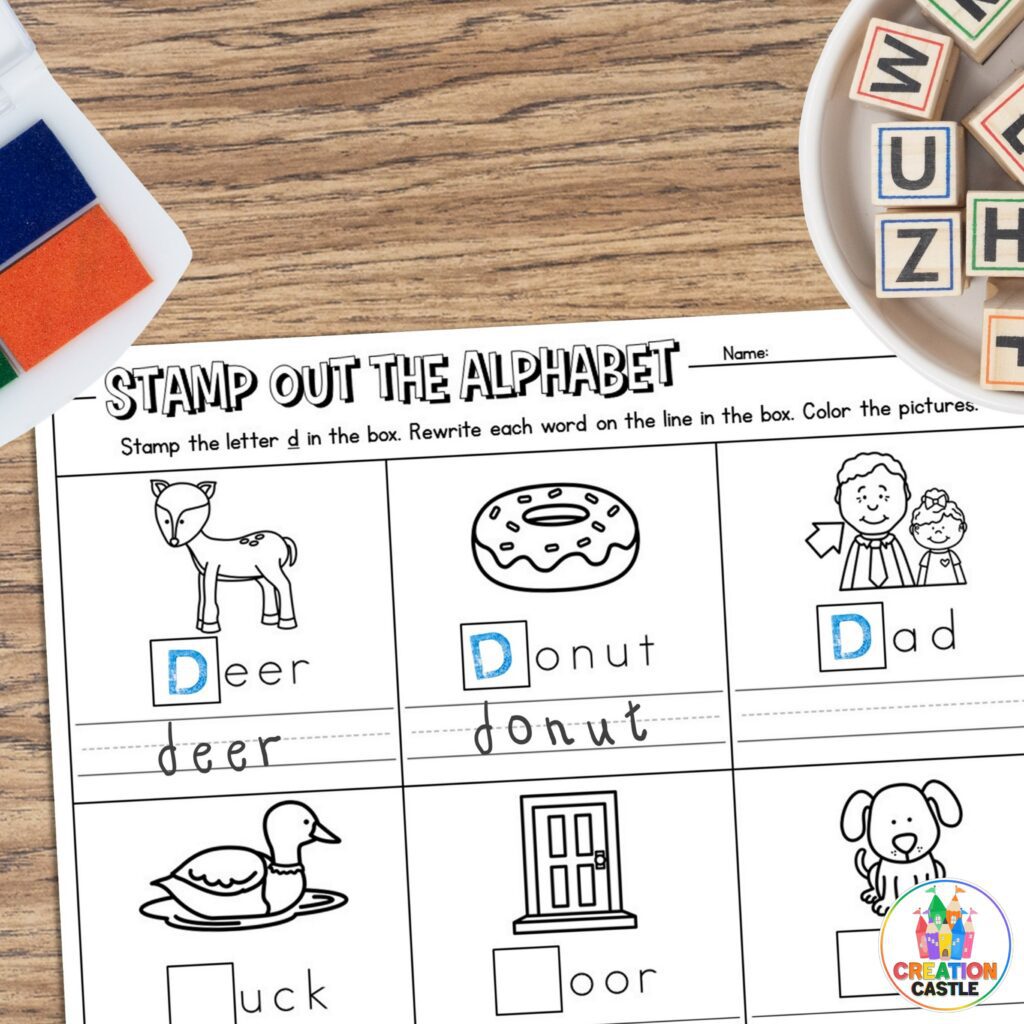
For a phonics-based stamping center, you simply need three things: alphabet stamps, ink, and paper. Your stamps can be uppercase or lowercase letters – it’s not very important. I did opt to pick up the Melissa and Doug set of alphabet stamps that came with both sets of letters for my kindergarteners.
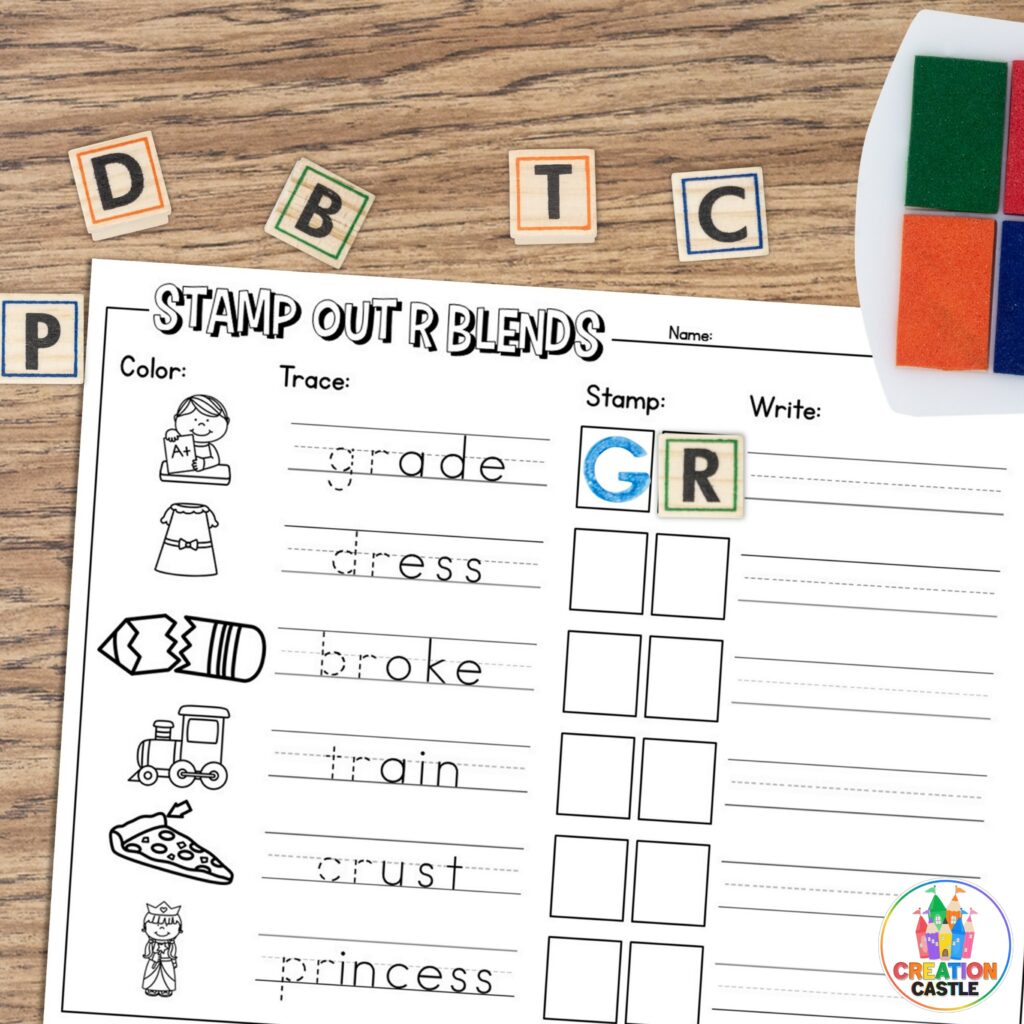
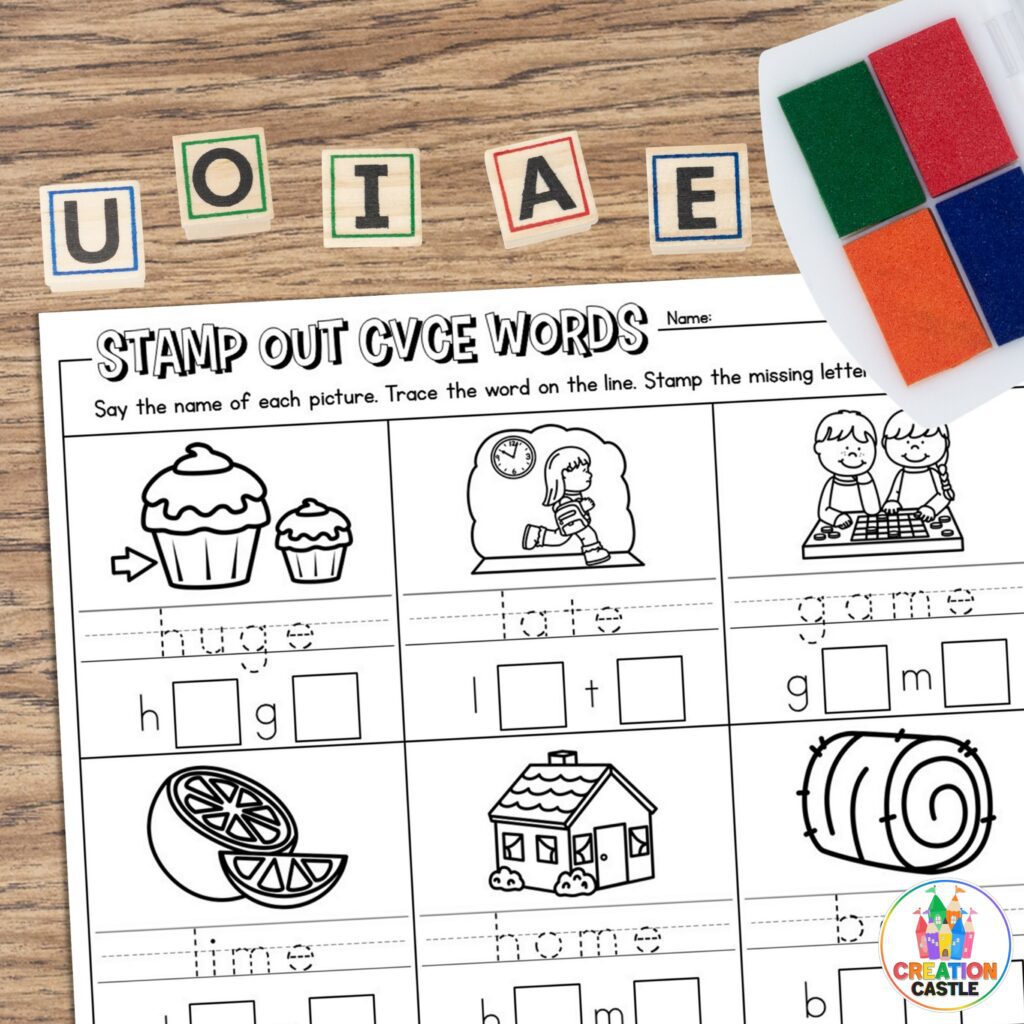
If you want to keep your students engaged with your current standards, consider adding content-specific stamping pages to practice particular skills. You can find the following skills available in my store: alphabet, CVC, CVCe, digraphs, diphthongs, R-controlled vowels, L blends, R blends, S blends, and ending blends. Add the bundle to your wish list today or grab the specific skill you need!
Keep in mind that you don’t actually need any worksheets to make this center successful in your classroom. Your students can stamp their words on a blank piece of copy paper. You’ll just need to provide them with some guidance for the center like a word list or vocabulary cards.
Setting Up Your Center
Step 1: Introduce Stamps, Ink, and Rules
It is possible that your students have never worked with stamps and ink pads before, so it is important to teach and model the proper way to use the materials. Work with small groups of students and show them the basics of stamping (which side of the stamp touches the ink pad, how to gently press the stamp into the ink, etc.)
Step 2: Designate a Stamping Area
After your students are familiar with the tools and rules of a stamping center, you shouldn’t have too many issues with the materials. However, you still want to lessen the chances of ink getting everywhere in your classroom. Designate a spot in your room that would be the least problematic if students were to accidentally stamp off their paper. Ideally, this spot would have tile floors and be away from books.
Step 3: Set Up Your Stamping Area
The best way to ensure your students are successful in their stamping centers is to keep things organized. Have a specific place for students to store the stamps, ink, and paper.
Step 4: Outline the Consequences
If your students misuse stamps, you could end up with ruined books, temporary tattoos, or worse. It is important to lay out strict consequences for misbehavior from the beginning.
In my classroom, my students worked in pairs or groups of three as they rotated through their language arts centers. When they came to the stamping center, each student would take a clipboard and a piece of paper. The group would sit on the tile floor near our word work rainbow cart and share the stamps and ink. Students knew that if there was any misconduct the center would close for one week.
Guess how many weeks our stamping center was closed. One.
I had one group of students test the rules and the center closed for one week. After that, we never had an issue again.
So what’s stopping you from giving a stamping station a try? Pick up this set of free stamping pages to try out the center with your students this week. Then come back for more once you see how much fun they have!

Creation Castle
Heather is the author of Creation Castle. She has experience with general education, special education, and ESL students in kindergarten through fifth grade. She specializes in early elementary math and literacy, as well as organization.